I had bought a huge bag of Red Mill’s Rye flour from my trips abroad. They were repacked into smaller zip lock bags so I could pack them away easily into my suitcase. TSA must have been wondering who this mad person was. Besides the rye flour, I also had about a kilo of cocoa, dried cherries, pecans, loaf pans, some spelt flour, semolina flour, a few t-shirts and a couple of pairs of jeans. I bet they must have thought I must have combined my vacation with my grocery shopping. Well, it was sort of true.
A couple of days back, when I was clearing my pantry, I realised the rye flour has been sitting around for a while. I had no intention of throwing out my precious cargo. So before the flour became too old to bake with, I decided it was time to bake some rye bread. My last experience with a 100% rye bread was not a rip-roaring success. I had gone through the motions of starter and a slow fermentation but what I got a the end was a hard crumbly loaf that no one at home wanted to eat. After trying very hard to convert it into something edible, I just accepted failure and chucked that experiment into the bin.
 So this time I wanted to make a bread which had a balance between white and rye. I did not want to sacrifice the flavour of rye but wanted the texture of white. So out came my bread books. As I pored through the pages, one recipe stood out. It was a New York Deli Rye from the Bread Bible by Rose Levy Beranbaum. The method was interesting and she promised flavour, texture and everything that you would want from a bread.
A first glance made me gasp. I would spend almost one-half of the day on this bread. Then I looked again. As with most bread, I would be spending most of those hours just letting yeast and flour do its thing. If there was one thing that worried me, it was the small quantity of rye used in the recipe. After all, this was a rye bread! What if the bread did not really taste of rye? But Rose Beranbaum is rarely wrong with her calculations. So if she tells me that the bread is going to be Ryey enough, then her word is good enough for me.
It started off with a simple enough starter which uses all of the liquid required for the recipe. The rest of the flour is just sort of sprinkled on the starter, almost forming a cover for the starter. As the starter gets to work, bubbling away, it will break through the barrier of flour. To me, it looked like a volcano, the lava just beneath the surface working furiously, creating little cracks and ravines through which you could get a peek into the activity below. Now if we are done with all the fiddly measurements and have got the starter going, just go and have a long relaxing bath. Your work is done for the next couple of hours.
Feeling all relaxed? Now begins the kneading. If you have a food processor or a stand mixer, you are not even going to break a sweat. Just bring the ingredients together and knead till you get a smooth and supple dough. If the dough feels very sticky, (mine felt dry and I added a couple of spoons of water) add a little flour. And then begins your next allotted rest time. More de-gassing and shaping later (3 to be precise) it was time to bake.
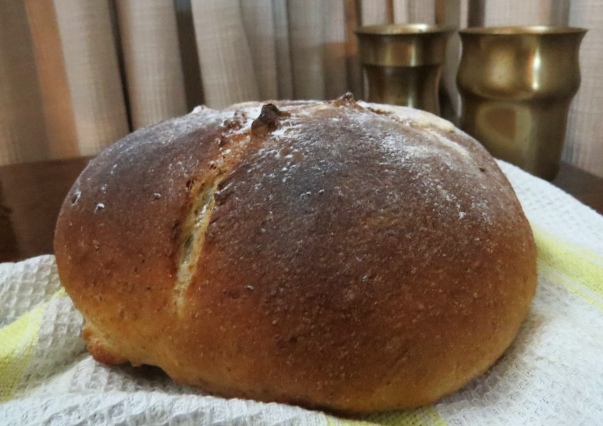
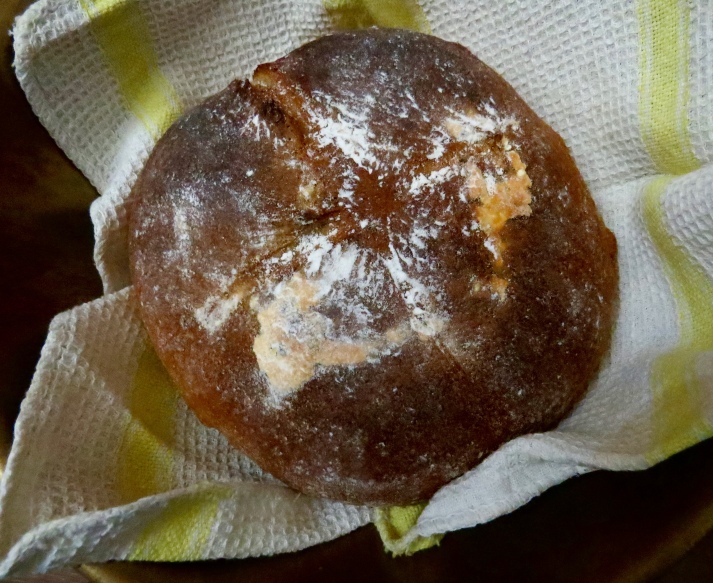
I decided to heat my cast-iron skillet to in the oven in lieu of the stone. While everything was in the process of getting ready, I think I took my rest a little too seriously. I had proofed my bread in my little cane basket lined with cloth, and by the time I came to take a look, it had over-proofed ever so slightly. I went ahead and slashed the loaf but did not go too deep for the fear that the loaf would collapse. The shallow cuts never really opened up as I would have liked them to. Lesson to me–rest if you will, but keep a timer going to remind you that you have a bread waiting!
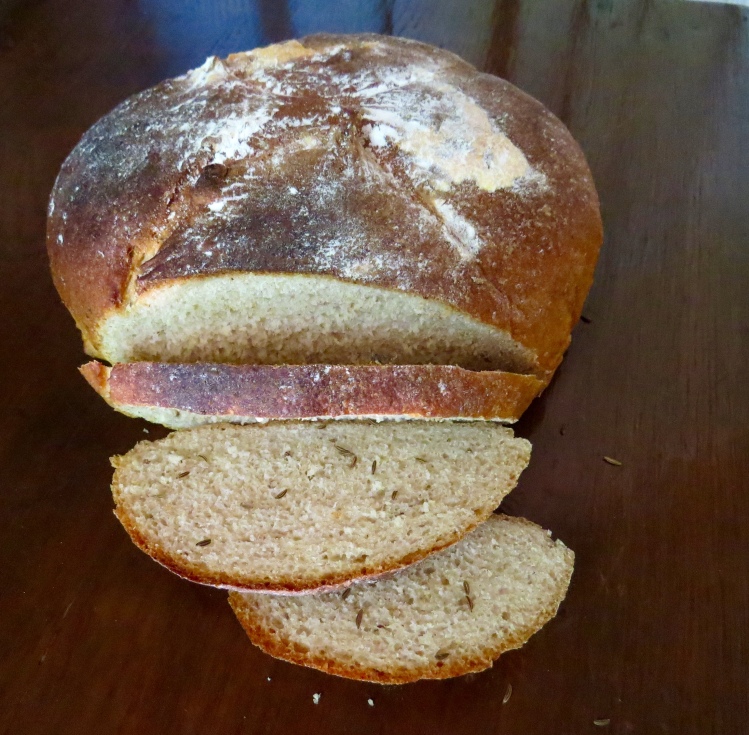
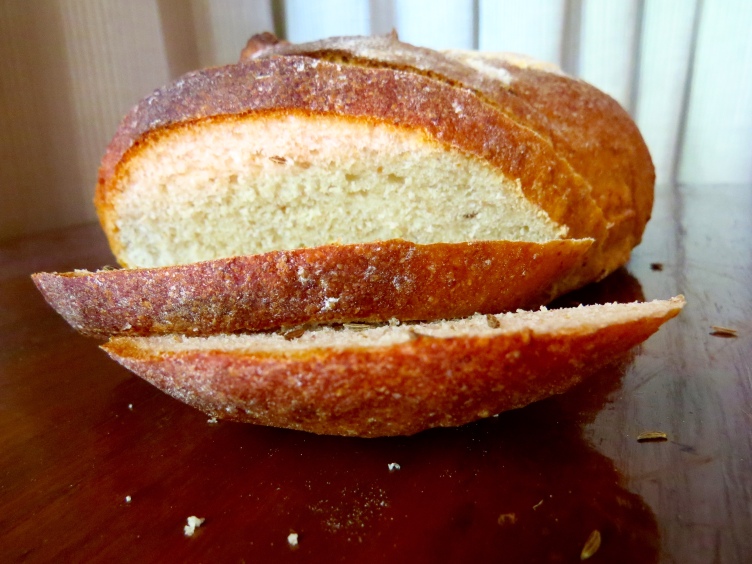
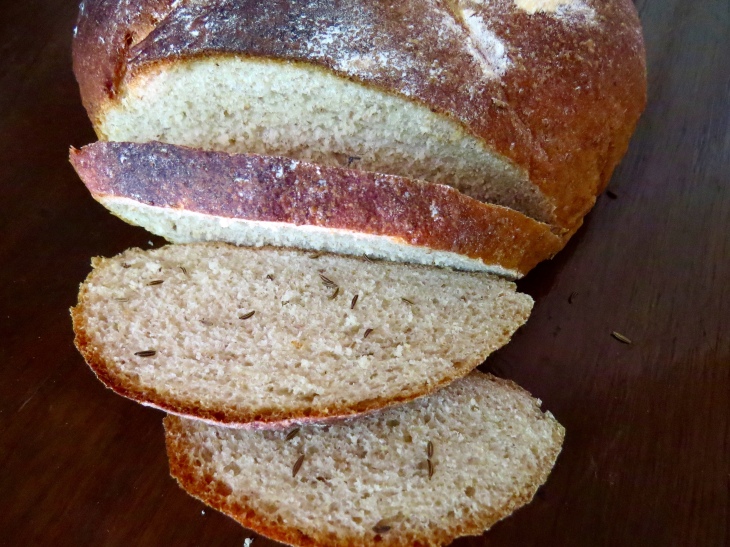
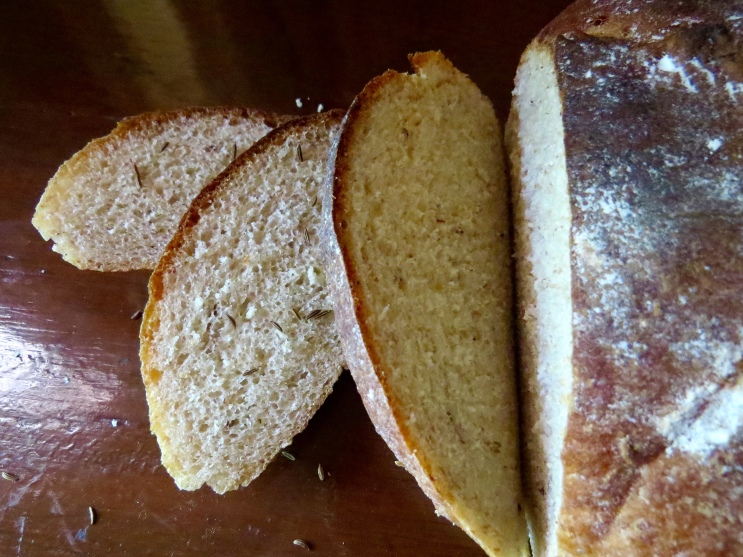
As I slid the bread into the oven, steam enveloped the boule and I knew I was going to get a great crust! What was difficult for me, was to wait for the bread to cool once it came out of the oven. The crust looked perfect with the dusting of flour. The tantalising smell of caraway kept drawing me back to the kitchen to smell the loaf (I had crushed a few seed and added some whole) To me it was this smell which really made the rye a New York rye. I actually waited up to almost midnight to slice the bread and bite into the crusty goodness. And thank God I did, for by next morning, the crust had softened down (nothing a few moments in an oven won’t fix) but there is something to be said for eating warm bread in the middle of the night when the rest of the house is asleep.
INGREDIENTS
Sponge
3/4 cup (117 grams) bread flour
3/4 cup (95 grams) rye flour
1/2 teaspoon instant yeast
1 1/2 tablespoons sugar
1/2 tablespoon malt powder (or barley malt syrup or honey) I used honey
1 1/2 cups (354 grams) water, at room temperature
Flour Mixture
2 1/4 cups (351 grams) bread flour
1/2 plus 1/8 teaspoon instant yeast
2 tablespoons caraway seeds (you can grind these if you want to avoid the crunch. I used them crushed and whole)
1/2 tablespoon salt
Dough and Baking
1/2 tablespoon vegetable oil
About 2 teaspoons cornmeal for sprinkling
METHOD
- Make the sponge: Combine sponge ingredients in a large or mixer bowl and whisk until very smooth, to intentionally incorporate air — this will yield a thick batter. Set it aside.
2. Make the flour mixture and cover the sponge: In a separate large bowl, whisk together the flour mixture and gently scoop it over the sponge to cover it completely. Cover the bowl tightly with plastic wrap and allow it to ferment for 1 to 4 hours at room temperature. (The sponge will bubble through the flour mixture in places.)
3. Mix the dough If you are using a stand mixer, add the oil and mix with the dough hook on low-speed for about 1 minute, until the flour is moistened enough to form a rough dough. then raise the speed to medium and mix it for 10 minutes. The dough should be very smooth and elastic, and it should jump back when pressed with a fingertip; if it is sticky, turn it out on a counter and knead in a little extra flour. If you are kneading by hand, after mixing all the ingredients together, let it rest for about 10 minutes before you start kneading. This rest will help make your kneading easier.
4. Let the dough rise: Place the dough in a large container or bowl, lightly oiled. Oil the top of the dough as well. Allow the dough to rise until doubled, 1 1/2 to 2 hours. Flip the bowl over and let the dough fall out onto a lightly floured counter, press it down gently, fold or form it back into a square-ish ball and allow it to rise a second time in the oiled bowl. This should take about 45 minutes.
5. Turn the dough out onto a lightly floured counter and gently press it down again. Shape it into a ball and set it on a cornmeal-sprinkled baking sheet. Cover it with oiled plastic wrap and let it rise until almost doubled. I let it rise in my cane basket, lined with a cloth, with the seam side up.
6. Preheat the oven as high as it will let you go. Mine heats up to 240 C. On a shelf at the lowest level, place a baking sheet or bread stone and another small pan which you will use to produce some steam.
7. Turn your loaf on to a parchment sheet if you have used a basket like me, and with a sharp knife or single-edged razor blade, make 1/4- to 1/2-inch-deep slashes in the top of the dough. Mist the dough with water and quickly but gently set the baking sheet on the hot stone. Toss 1/2 cup of ice cubes or ice-cold water into the pan beneath and immediately shut the door. Bake for 15 minutes, then lower the temperature to 200 C and continue baking for 30 to 40 minutes or until the bread is golden brown and a thermometer inserted into the center reads 190°F.
8. Cool the bread on a wire rack before slicing.
The bread itself was light, with a great crust. There was no mistaking the flavour of the rye. Rose adds that the best way to eat the bread is with a spread of unsalted butter, topped with thinly sliced radishes. As much as I love to wasabi, I hate eating radishes. Personally, I would rather not eat this bread that way. I like to eat it the good old-fashioned way–as a sandwich. If you don’t like the flavour of caraway, you could avoid it. But to me, it is the caraway that makes the bread. No rye in your pantry? Substitute it with whole wheat flour. It will no longer be rye bread but what you get will still be a tasty loaf.
I’ve always wanted to work with rye! Thanks for sharing is such detail so I will know what to expect when it’s my turn to experiment 🙂
LikeLike
Do try it out Cher, and sure you will like it very much.
LikeLiked by 1 person